How to Clean a Desktop PC Motherboard?
Your desktop PC’s motherboard is the heart of your computer, connecting all components and ensuring smooth operation. Over time, dust and debris can accumulate on the motherboard, leading to overheating, reduced performance, and even potential damage. Regular cleaning is essential to maintain optimal functionality and prolong the lifespan of your PC. This guide will walk you through the steps to clean a desktop PC motherboard safely and effectively.
Why Clean a Desktop PC Motherboard?
Cleaning your motherboard offers numerous benefits, including:
- Enhanced Performance: Dust and debris can impede heat dissipation, causing components to overheat and slow down your system.
- Longevity: Regular cleaning can extend the lifespan of your motherboard and other components.
- Prevention of Damage: Removing dust and debris helps prevent short circuits and other issues that can arise from dirt accumulation.
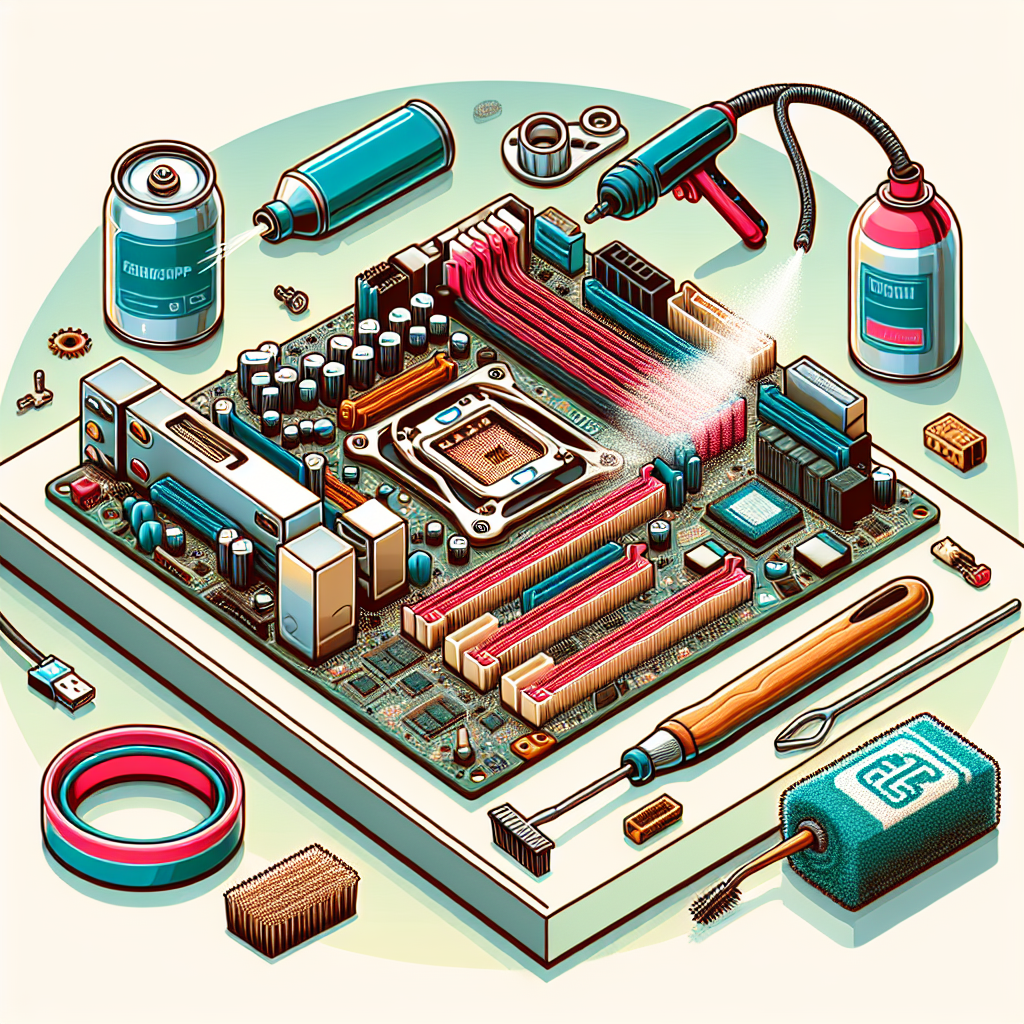
Tools and Materials Needed
Before you begin, ensure you have the following tools and materials:
- Compressed Air Can
- Soft Bristle Brush
- Isopropyl Alcohol (90% or higher)
- Cotton Swabs
- Anti-static Wrist Strap
- Microfiber Cloth
- Small Screwdriver
Step-by-Step Guide to Cleaning Your Desktop PC Motherboard
1. Power Down and Unplug
Start by powering down your desktop PC and unplugging all cables. Ensure that the power supply is turned off to prevent any electrical shocks.
2. Open the Case
Use a small screwdriver to remove the screws holding the case in place. Carefully remove the side panel to access the internal components.
3. Ground Yourself
Before touching any internal components, put on an anti-static wrist strap and attach it to a metal part of the case to ground yourself. This step prevents static electricity from damaging sensitive components.
4. Remove Dust with Compressed Air
Use a can of compressed air to blow away loose dust and debris from the motherboard. Hold the can upright and spray in short bursts to avoid moisture buildup. Make sure to cover all areas, including the slots and connectors.
5. Brush Away Stubborn Dust
For dust that doesn’t come off with compressed air, use a soft bristle brush to gently sweep away the debris. Be cautious around delicate components and connectors.
6. Clean with Isopropyl Alcohol
Dampen a cotton swab with isopropyl alcohol and gently clean any remaining dirt or grime from the motherboard. Focus on the areas around the connectors and components. Be sure not to soak the swab to avoid alcohol dripping onto the motherboard.
7. Wipe Down Surfaces
Use a microfiber cloth to wipe down any accessible surfaces on the motherboard. This step ensures that any remaining dust or residue is removed.
8. Reassemble Your PC
Once the motherboard is clean, carefully replace the side panel and secure it with screws. Reconnect all cables and power up your PC. Monitor your system to ensure it is functioning properly.
Frequency of Cleaning
Regular maintenance is key to keeping your motherboard in optimal condition. Depending on your environment and usage, consider cleaning your motherboard every three to six months. If you use your PC in a particularly dusty area, more frequent cleanings may be necessary.
Conclusion
Cleaning your desktop PC motherboard is a straightforward process that can significantly enhance your computer’s performance and longevity. By following these steps and maintaining regular cleaning intervals, you’ll ensure that your PC runs smoothly and efficiently for years to come. Remember to handle all components with care and take the necessary precautions to prevent damage from static electricity.