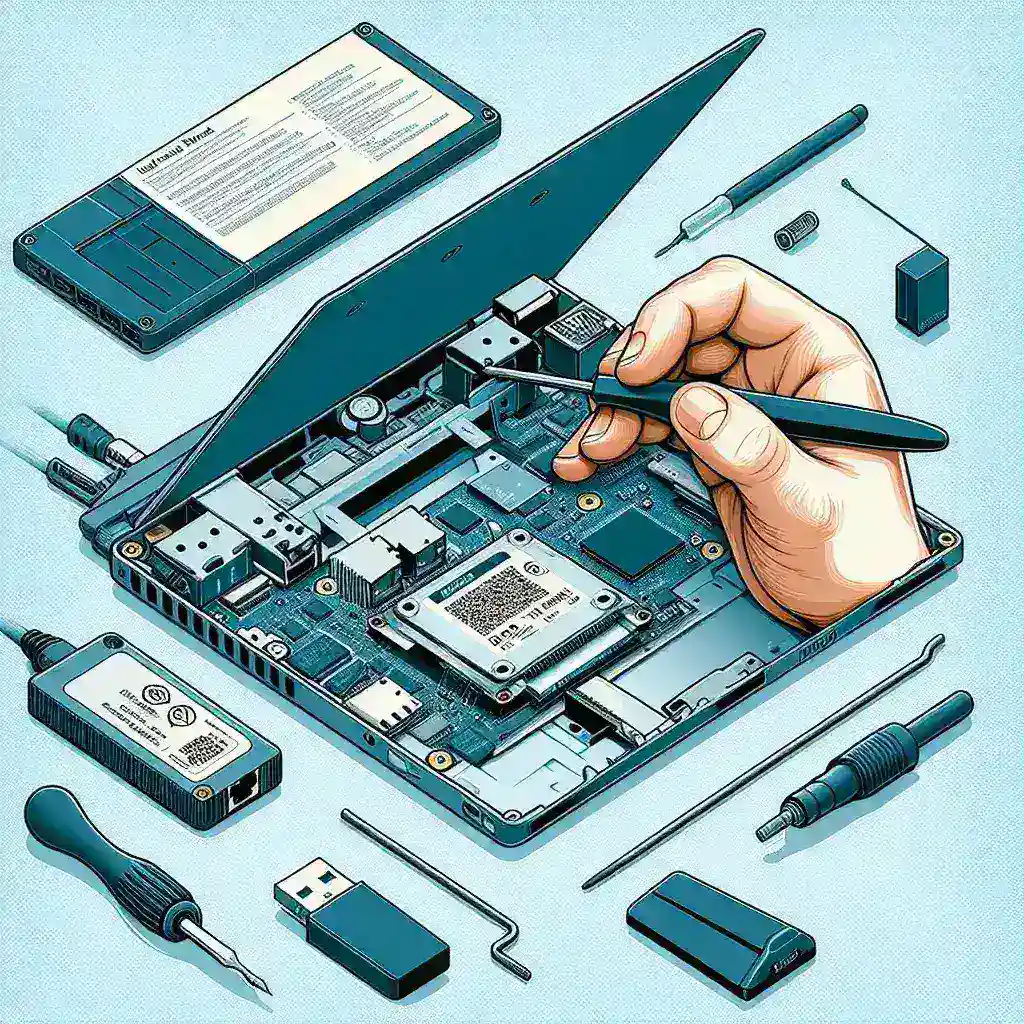
How do you install a network adapter on a laptop?

Introduction
Installing a network adapter on a laptop can often be necessary to boost connectivity or replace a malfunctioning internal card. This guide will walk you through the essential steps involved in the process, whether you’re using a USB adapter or installing a PCIe card.
Types of Network Adapters
Before proceeding with the installation steps, it’s important to understand the types of network adapters available:
| Type | Description | Common Applications |
|---|---|---|
| USB Network Adapter | Easy to install via USB port. No internal access needed. | Laptops without internal Wi-Fi; temporary solutions. |
| PICe Network Adapter | Offers better performance; requires opening the laptop case. | High-performance needs; permanent solutions. |
Preparation
Before diving into the installation process, make sure you have the following tools and materials ready:
- Network adapter (USB or PCIe)
- Screwdriver set (for PCIe adapter)
- Driver CD or downloaded driver software
- Anti-static wristband (optional but recommended)
Safety Considerations
Always ensure your laptop is turned off and unplugged from any power source. For added precaution, you can also remove the battery if your laptop allows it. This minimizes the risk of electric shock and prevents any damage to the components.
Steps to Install a USB Network Adapter
Step 1: Insert the Adapter
Simply locate an available USB port on your laptop and insert the network adapter into it.
Step 2: Install the Driver
Most USB network adapters come with an installation disc. If yours does, insert the disc into your laptop and follow the on-screen instructions to complete the driver installation. If no disc is provided, visit the manufacturer’s website to download the appropriate drivers.
Step 3: Confirm Installation
Once the driver is installed, go to the Device Manager on your laptop to confirm that the adapter is recognized and functioning properly.
Steps to Install a PCIe Network Adapter
Step 1: Open the Laptop Case
Using a screwdriver, carefully remove the screws holding the back panel of your laptop. Make sure to keep the screws in a safe place.
Step 2: Locate the PCIe Slot
Find the PCIe slot, usually located next to the RAM slots or other internal cards. You’ll recognize it by the open-ended slot where the card can be inserted.
Step 3: Insert the Adapter
Carefully align the PCIe network adapter with the slot and press it gently but firmly into place. Make sure it’s securely connected.
Step 4: Secure the Adapter
If the adapter has a retention bracket, use the screws that were holding the back panel to secure it. In some cases, the adapter might need a dedicated screw to hold it in place.
Step 5: Close the Laptop Case
Reattach the laptop’s back panel by screwing all the screws back into place.
Step 6: Install the Driver
Like the USB adapter, PCIe adapters also require drivers. Use the provided CD or download the drivers from the manufacturer’s website.
Step 7: Confirm Installation
Finally, check the Device Manager to ensure the network adapter is recognized and operating correctly.
Troubleshooting Common Issues
Driver Compatibility
If the adapter isn’t working, make sure the driver is compatible with your operating system. Sometimes, a simple update can resolve the issue.
Connection Problems
If you’re experiencing connectivity issues, ensure that the adapter is properly seated in its slot. Additionally, check for any available updates for the network drivers.
Hardware Conflicts
Occasionally, other hardware in your laptop might conflict with the new network adapter. Disabling unused devices in the Device Manager can often resolve these conflicts.
Conclusion
Installing a network adapter in your laptop is a straightforward process, whether you’re using a USB or PCIe adapter. By following the steps outlined in this guide, you can improve your laptop’s connectivity in no time.
