Steps to Connect and Print from an iPad
Introduction
Printing directly from your iPad can be a real time-saver, whether you need to print documents, photos, or emails. With the right setup, you can print wirelessly from your iPad to any compatible printer. This guide will walk you through the steps needed to connect and print from your iPad efficiently.
Step-by-Step Guide to Printing from an iPad
1. Ensure Your Printer is AirPrint-Enabled
The easiest way to print from an iPad is to use an AirPrint-enabled printer. AirPrint is a technology that Apple includes in its iOS devices to support wireless printing. Most modern printers come with AirPrint support. Check your printer’s manual or the manufacturer’s website to confirm this feature.
2. Connect Your Printer to Wi-Fi
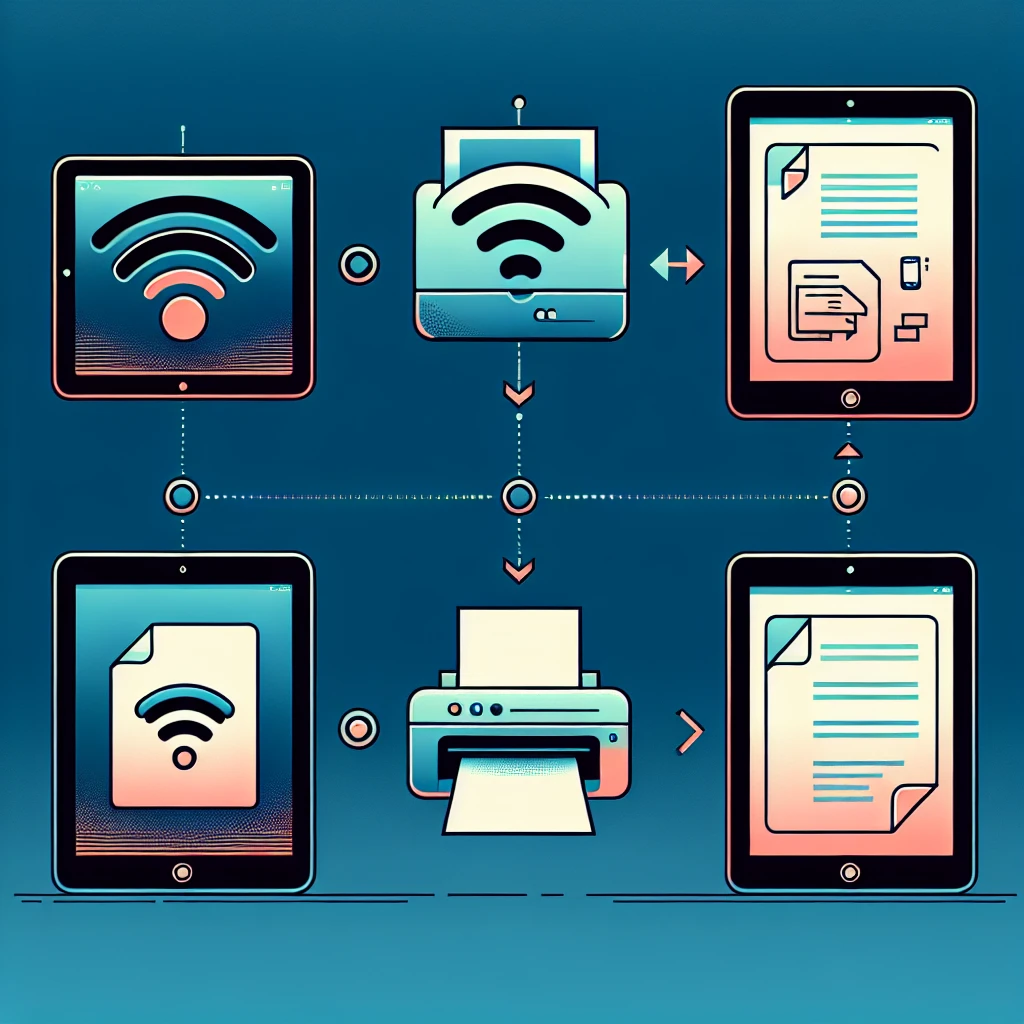
For wireless printing, your printer must be connected to the same Wi-Fi network as your iPad. Follow these steps to connect your printer:
- Turn on your printer and ensure it is connected to your Wi-Fi network. Refer to the printer’s manual for specific instructions.
- Go to your iPad’s Wi-Fi settings by tapping Settings > Wi-Fi and make sure it is connected to the same network.
3. Select the Document You Want to Print
Once your printer and iPad are on the same Wi-Fi network, open the document, photo, email, or web page you want to print. Most apps with content you can print will have a Share or Options button, usually represented by an icon that looks like a box with an arrow pointing up.
4. Access the Print Option
After selecting the document, tap the Share or Options button and find the Print option. Tap it to proceed.
5. Configure Your Print Settings
In the Printer Options menu, you need to:
- Select your printer (Ensure it’s the right one.)
- Choose the number of copies you need.
- Adjust print settings like page range, color options, and paper size, if necessary.
6. Print the Document
Once you have configured the print settings to your preference, tap the Print button in the upper-right corner of the screen. Your document will be sent to the printer, and you should see a notification confirming that the printing process has started.
Troubleshooting Tips
If you encounter issues while trying to print from your iPad, consider the following troubleshooting tips:
- Ensure Both Devices Are on the Same Network: Verify that both your iPad and printer are connected to the same Wi-Fi network.
- Update Firmware: Check if there is a firmware update available for your printer and install it.
- Restart Devices: Sometimes, simply restarting your iPad and printer can resolve connectivity issues.
- Consult Printer Manual: Refer to your printer’s manual for specific troubleshooting steps tailored to your printer model.
Conclusion
Printing from your iPad can transform how you handle documents and photos by making the process quick and effortless. By following the steps outlined above, you should be able to connect and print from your iPad seamlessly. Remember, the key lies in ensuring both your printer and iPad are connected to the same Wi-Fi network and that your printer is AirPrint-enabled.